How to Use Nexonia with QuickBooks?
-
 Last updated: 31 December 2024
-
 QuickBooks
 -
 Written by
Editorial Team
Written by
Editorial Team
Nexonia is a cloud-based expense management solution designed for small and medium businesses that need to integrate a time reporting system with their Enterprise Resource Planning (ERP) or accounting system. It can be used to plan and request time off, track billable hours, estimate the time spent on specific tasks/projects, and calculate time for payroll. It eliminates the need for preparing reports manually while ensuring compliance and helping in controlling time and expenses. In this article, we will focus on integrating Nexonia with QuickBooks Desktop to take advantage of a fully integrated expense reporting, invoice management, and time tracking experience.
What Are the Advantages of Integrating Nexonia with QuickBooks Desktop?
Following are the benefits of integrating QuickBooks with Nexonia.
- Approved reports can be transferred quickly and easily into accounts.
- Customers, jobs, items, accounts, classes, and locations can be synchronized with QuickBooks.
- Details such as vendor bills and credit card transactions can be added to expense reports which can be exported to QuickBooks.
- Nexonia supports several QuickBooks objects, such as, including customers, vendors, employees, items, departments, locations, classes, and projects.
- It can help in streamlining corporate policy and approval processes.
- Nexonia Expenses can be combined with Nexonia Timesheets so that businesses can track time against customers, projects, service items, payroll items, and classes along with expenses which can be exported to QuickBooks.
How to Set Up Nexonia with QuickBooks Desktop?
Nexonia can be connected with QuickBooks using an e-connect. QuickBooks Web Connector is the most widely used e-connect for integrating QuickBooks with Nexonia. It is not only capable of importing data such as standard dimensions, from QuickBooks into Nexonia but also exporting fully approved expenses and timesheets from Nexonia into QuickBooks. Follow the steps below to set up Nexonia with QuickBooks Desktop.
- Download and install the QuickBooks Web Connector on all computers that need to share information between Nexonia and QuickBooks Desktop.
- Log in to the QuickBooks Desktop account. Then log in to Nexonia as an admin, and navigate to Integration tab > Integration Setup > Configuration Data >Edit Parameters.
- Provide an appropriate name for the integration, such as QUICKBOOKS (DESKTOP), and ensure that the data integration for Expenses or Timesheets has been added.
- Click on Edit Parameters, and the Configuration Sync window will open. Set the Integration Type to QuickBooks Desktop, switch to the General tab, and download the QWC files.
- To add the QWC files to the QuickBooks Web Connector, log in to QuickBooks Desktop with admin credentials in the single-user mode.
- Launch the QuickBooks Web Connector by opening the NexoniaConfiguration.qwc file.
- In the QuickBooks Application Certificate, select the option to allow the application to modify the company file when it is open.
- Provide the Nexonia admin credentials in the QuickBooks Web Connector to access QuickBooks data.
Apps4Rent Can Help with Remote Access to QuickBooks
Many businesses use Nexonia with QuickBooks on a shared Windows Server to enable users to access the QuickBooks Desktop company files on different client machines. Exporting timesheet data from Nexonia to QuickBooks could result in errors when businesses run QuickBooks on a shared Windows Server, and some users get auto logged out while holding the file lock on the QuickBooks company file.
As an Intuit Authorized Hosting Provider, Apps4Rent offers dedicated QuickBooks hosting plans from our top-tier SSAE 16 datacenters to minimize conflicts. Contact our QuickBooks technicians available 24/7 via phone, chat, and email for assistance.
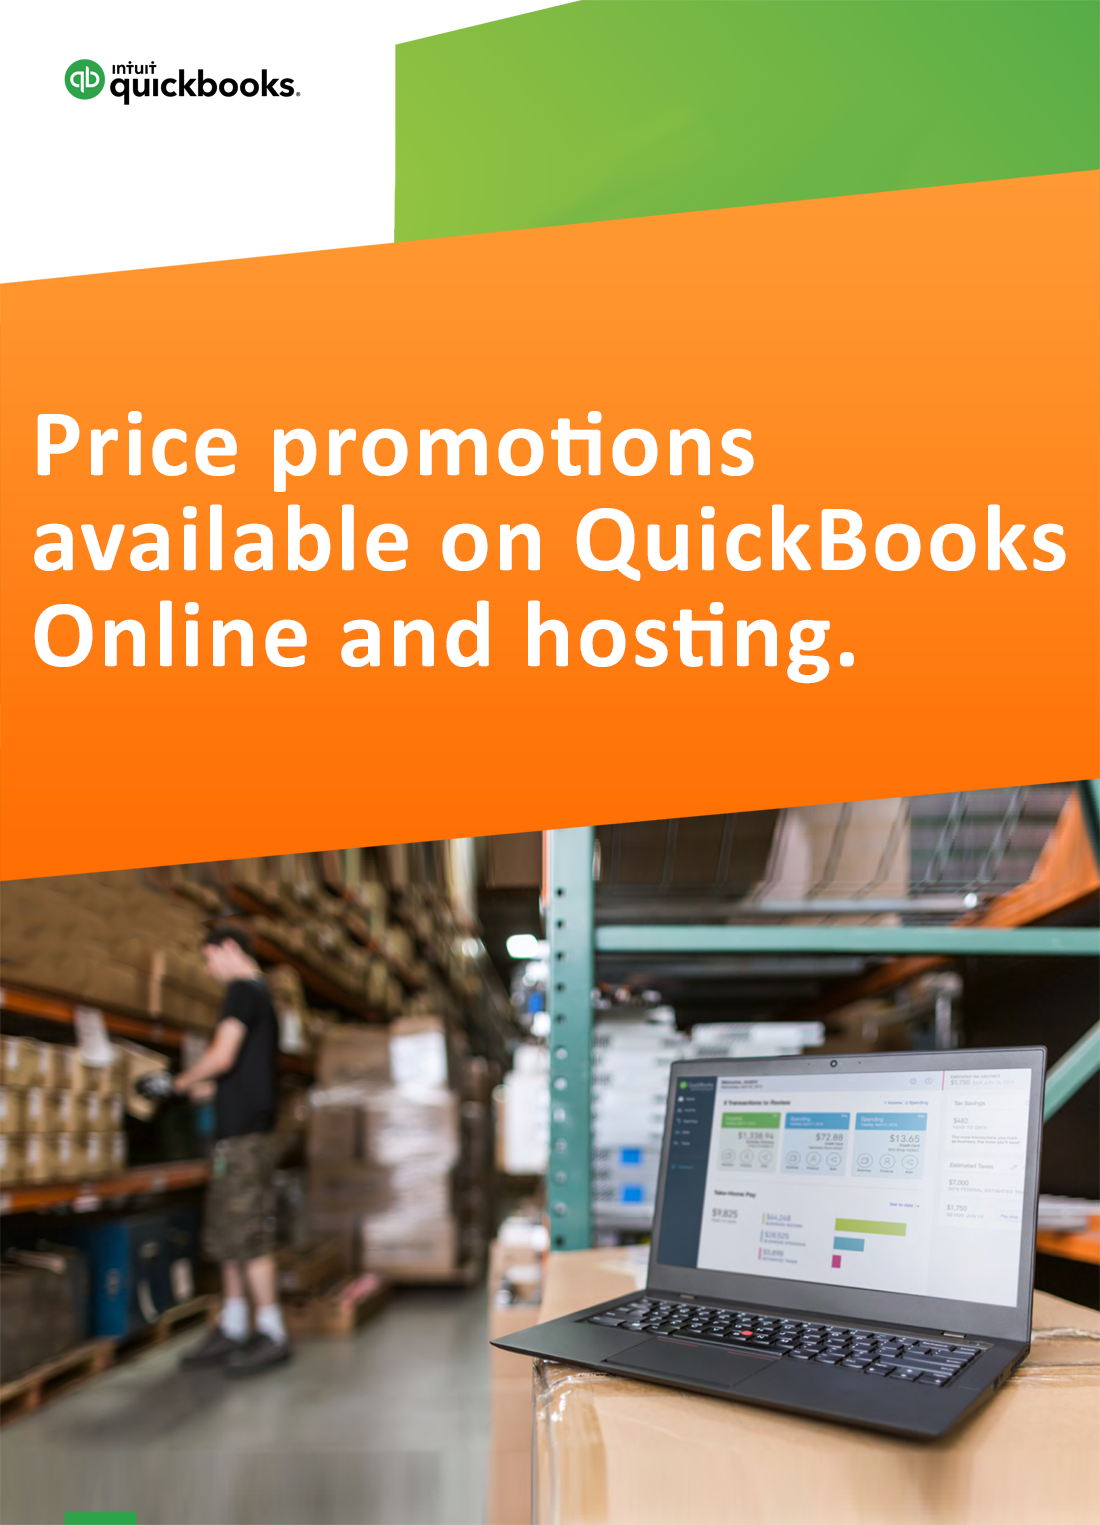
Request for price promotions


